Let’s be honest here—owning a Stihl FSA 60 R is like having a superhero in your garden. But even superheroes need a little help sometimes. One common question that pops up is, how do you replace the string on this powerhouse? If you’ve ever found yourself scratching your head over the Stihl FSA 60 R string replacement process, you’re not alone. This guide is here to be your trusty sidekick, walking you through every step of the way.
Now, before we dive into the nitty-gritty details, let me tell you something. Replacing the string might sound intimidating, but trust me, it’s easier than trying to figure out why your Wi-Fi keeps cutting out. Plus, doing it yourself can save you a ton of money and time. Who wouldn’t want that?
So, buckle up because we’re about to take you on a journey that will turn you into a certified Stihl FSA 60 R string replacement pro. By the end of this guide, you’ll be swapping strings faster than you can say “trimmer.” And hey, maybe you’ll even impress your neighbors while you’re at it.
Read also:Blue Cross And Blue Shield Are A Comprehensive Guide To Understanding The Giants Of Health Insurance
Table of Contents
- Overview of Stihl FSA 60 R
- Tools You’ll Need
- Step 1: Preparing Your Trimmer
- Step 2: Removing the Spool
- Step 3: Loading the New String
- Step 4: Reassembling the Spool
- Pro Tips for Stihl FSA 60 R Owners
- Common Issues During Replacement
- Maintenance Tips for Longevity
- Frequently Asked Questions
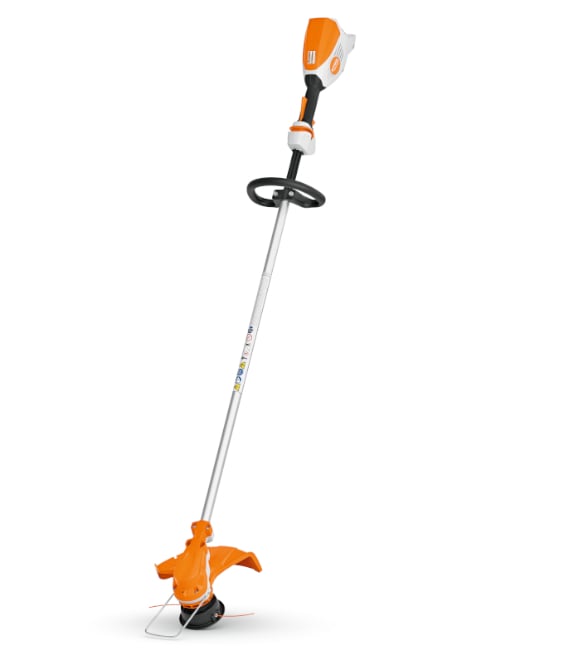
Overview of Stihl FSA 60 R
First things first, let’s break down what makes the Stihl FSA 60 R such a beast in the world of trimmers. This baby is powered by a lithium-ion battery, which means no gas, no hassle, and plenty of power. It’s lightweight, ergonomic, and perfect for tackling those pesky weeds and overgrown grass in your yard. But, like any tool, it needs a little TLC from time to time.
One of the most common maintenance tasks is replacing the string. Why? Because let’s face it, the string doesn’t last forever, especially if you’re using your trimmer like a pro. Knowing how to replace it yourself not only saves you money but also ensures your trimmer stays in tip-top shape.
Why Replace the String?
Think of the string as the heart of your trimmer. Without it, your Stihl FSA 60 R is just a fancy stick with a motor. Over time, the string wears out, frays, or breaks. When that happens, your trimming efficiency goes down the drain. Replacing it keeps your trimmer running smoothly and your yard looking fresh.
Tools You’ll Need
Before you get started, gather your tools. Here’s a quick rundown of what you’ll need:
- Replacement string (make sure it matches the recommended diameter for your Stihl FSA 60 R)
- Phillips head screwdriver
- Spool (sometimes included with the replacement string)
- A steady hand and a bit of patience
Pro tip: Always keep spare strings and spools on hand. You never know when you’ll need them, and trust me, running to the store in the middle of a trimming session is not fun.
Step 1: Preparing Your Trimmer
Alright, let’s get this party started. The first step is to prepare your Stihl FSA 60 R for the string replacement process. Here’s how:
Read also:What Is Virginia State Tax A Comprehensive Guide To Understanding Your Tax Obligations
Turn off your trimmer and unplug it from the charger or remove the battery. Safety first, folks. You don’t want to accidentally start the trimmer while you’re working on it. Next, find a clean, flat surface to work on. This will make your life a whole lot easier.
Double-Check the Manual
Even if you’re a seasoned pro, it’s always a good idea to double-check the manual. Stihl knows their stuff, and their manuals are packed with helpful tips and tricks. Plus, it’s always nice to have a little backup when things get tricky.
Step 2: Removing the Spool
Now that your trimmer is prepped and ready, it’s time to remove the spool. This is where the fun begins. Follow these steps:
- Locate the spool cover at the bottom of the trimmer head.
- Use your Phillips head screwdriver to remove the screws holding the cover in place.
- Gently pull the cover off to reveal the spool.
Pro tip: Keep those screws in a safe place. Losing them is like losing a sock in the laundry—you’ll never find it again.
Inspect the Spool
Take a moment to inspect the spool for any signs of damage or wear. If it looks like it’s seen better days, it might be time to replace it. Better safe than sorry, right?
Step 3: Loading the New String
Alright, here’s where the magic happens. Loading the new string is easier than you think. Follow these steps:
- Cut a piece of replacement string to the recommended length (usually around 10-12 feet).
- Thread one end of the string through the hole in the center of the spool.
- Wind the string around the spool in the direction indicated by the arrows. Make sure it’s tight and evenly wound.
Pro tip: Take your time with this step. A poorly wound string can cause all sorts of problems down the line.
Check the String Tension
Once the string is wound, give it a gentle tug to make sure it’s secure. You don’t want it unraveling the first time you use your trimmer.
Step 4: Reassembling the Spool
The final step is reassembling the spool. Here’s how:
- Place the spool back into the trimmer head, making sure the string is feeding through the hole.
- Reattach the spool cover and secure it with the screws.
- Give the string a few tugs to ensure everything is in place.
Pro tip: If the string doesn’t feed smoothly, double-check your winding. Sometimes a small adjustment can make all the difference.
Pro Tips for Stihl FSA 60 R Owners
Now that you’ve mastered the art of Stihl FSA 60 R string replacement, here are a few pro tips to keep your trimmer in top condition:
- Regularly clean the trimmer head to prevent debris buildup.
- Check the string tension after each use to ensure optimal performance.
- Store your trimmer in a dry, cool place to prolong its lifespan.
Remember, a well-maintained trimmer is a happy trimmer. Treat it right, and it’ll treat you right.
Common Issues During Replacement
Even the best of us run into issues from time to time. Here are a few common problems and how to fix them:
- String Won’t Feed: Check the winding direction and ensure the string is properly seated in the spool.
- Spool Won’t Spin: Inspect the spool for damage and make sure it’s not jammed.
- String Breaks Quickly: Use the correct diameter string and avoid overloading the spool.
Pro tip: If you’re still having trouble, don’t hesitate to reach out to a Stihl dealer or consult the manual. Sometimes a fresh pair of eyes can spot the issue.
Maintenance Tips for Longevity
Maintaining your Stihl FSA 60 R is key to keeping it running smoothly. Here are a few tips:
- Regularly inspect the battery and charging system.
- Keep the trimmer head and blades clean and sharp.
- Follow the recommended maintenance schedule in the manual.
Think of your Stihl FSA 60 R as a partner in crime. Take care of it, and it’ll take care of you.
Frequently Asked Questions
Got questions? We’ve got answers. Here are some of the most common questions about Stihl FSA 60 R string replacement:
How Often Should I Replace the String?
It depends on how often you use your trimmer. As a general rule, replace the string whenever it starts to fray or break. Regular users might need to replace it every few months.
Can I Use Any Type of String?
Nope. Stick to the recommended string diameter for your Stihl FSA 60 R. Using the wrong string can damage your trimmer and reduce its performance.
Where Can I Buy Replacement Parts?
Your local Stihl dealer or authorized retailer is your best bet. They’ll have everything you need and can even offer advice if you’re unsure.
Kesimpulan
Replacing the string on your Stihl FSA 60 R might seem daunting at first, but with this guide, you’re all set to tackle it like a pro. Remember, practice makes perfect, so don’t be afraid to give it a try. And hey, if you run into any issues, don’t hesitate to reach out for help.
Now, it’s your turn. Share your Stihl FSA 60 R string replacement experience in the comments below. Or, if you found this guide helpful, feel free to share it with your fellow gardening enthusiasts. Together, let’s keep those yards looking fresh and trimmer-ready!