Are you ready to dive into the world of Raspberry Pi, VPC, and IoT? If you're looking to create a smart network that can revolutionize your home or business, you're in the right place. In this comprehensive tutorial, we'll walk you through everything you need to know about setting up Raspberry Pi for IoT applications using a Virtual Private Cloud (VPC). Whether you're a beginner or an advanced user, we've got you covered!
Building a Raspberry Pi VPC IoT project might sound intimidating at first, but trust me, it's easier than you think. With the right guidance, you can set up your own private cloud infrastructure and integrate IoT devices seamlessly. This tutorial will break down the process step-by-step so you can focus on creating something amazing without getting overwhelmed.
So, buckle up, grab your Raspberry Pi, and let's get started. By the end of this guide, you'll have the knowledge and tools to deploy your own IoT network using VPC. Let's make tech magic happen!
Read also:Shopping At Iah Your Ultimate Guide To Houstons Shopping Paradise
What is Raspberry Pi and Why Should You Use It?
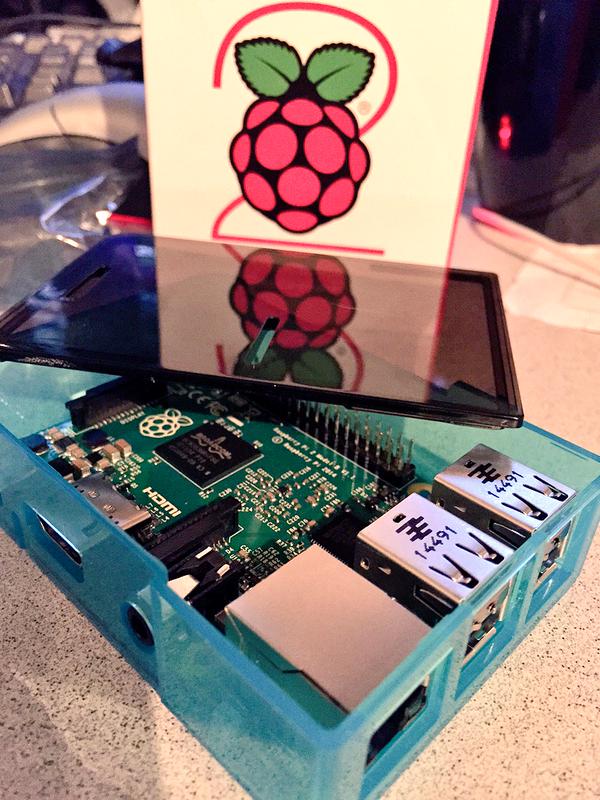
Raspberry Pi is more than just a tiny computer; it's a powerhouse for innovation. For those who are new to this amazing device, Raspberry Pi is a credit-card-sized single-board computer that has taken the maker community by storm. It's affordable, versatile, and packed with features that make it perfect for a wide range of projects, especially in the IoT space.
Here's why Raspberry Pi is the go-to choice for IoT enthusiasts:
- Cost-effective: You don't need to break the bank to get started with Raspberry Pi.
- Flexible: It can run various operating systems and supports a wide array of peripherals.
- Community Support: A vibrant community of developers and makers ensures you'll always find help when you need it.
- Scalable: Whether you're building a small home automation system or a large-scale industrial IoT solution, Raspberry Pi can adapt to your needs.
Understanding VPC and Its Role in IoT
Now that we've covered the basics of Raspberry Pi, let's talk about Virtual Private Cloud (VPC). A VPC is essentially a private network within a cloud environment. It provides a secure and isolated space for your IoT devices to communicate without exposing them to the public internet.
Here's why VPC is crucial for IoT:
- Security: VPC ensures that your IoT devices are protected from unauthorized access.
- Performance: By controlling network traffic, VPC can improve the performance of your IoT applications.
- Flexibility: You can easily scale your network up or down depending on your requirements.
How Does VPC Enhance IoT Security?
Security is one of the biggest concerns in the IoT world. With VPC, you can create a secure environment where your devices can operate without the risk of being hacked. By setting up firewalls, access controls, and encryption, you can ensure that only authorized devices and users can interact with your IoT network.
Setting Up Raspberry Pi for IoT
Before we dive into the VPC setup, let's first focus on getting your Raspberry Pi ready for IoT applications. Here's a step-by-step guide to help you get started:
Read also:Virginia Department Of Revenue Your Ultimate Guide To Taxes And More
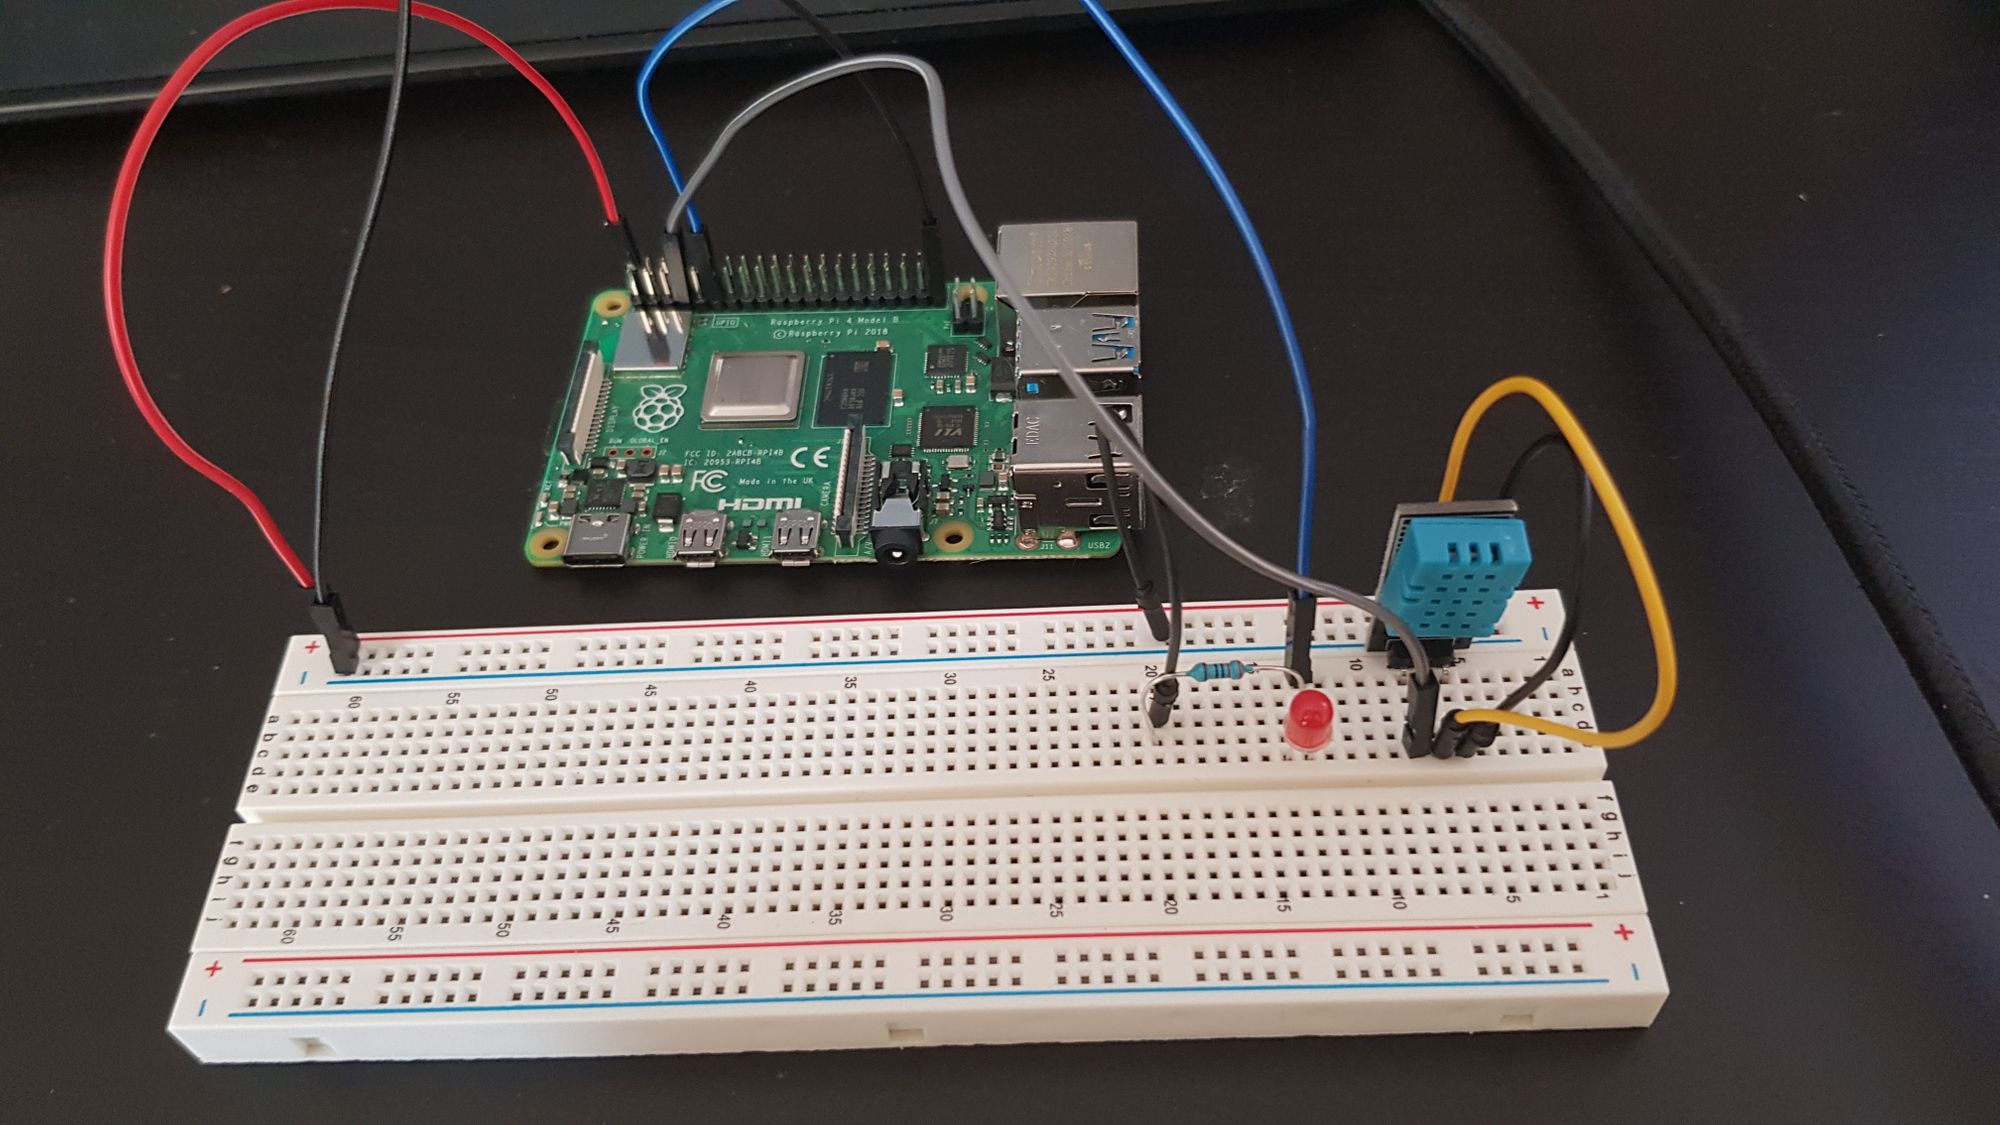
Step 1: Gather Your Materials
- Raspberry Pi board
- MicroSD card (minimum 16GB)
- Power supply
- Keyboard and mouse
- HDMI monitor (optional)
Step 2: Install the Operating System
Choose an operating system that suits your needs. For IoT projects, many users prefer Raspbian or Ubuntu Core. You can download the OS image and flash it onto your MicroSD card using tools like Raspberry Pi Imager or Etcher.
Choosing the Right OS for IoT
When selecting an OS for your Raspberry Pi IoT project, consider the following:
- Raspbian: Great for beginners and general-purpose projects.
- Ubuntu Core: Ideal for more advanced IoT applications.
- Other Options: Depending on your specific needs, you might explore other lightweight OS options.
Connecting Raspberry Pi to VPC
Once your Raspberry Pi is up and running, it's time to connect it to a VPC. This step is crucial for ensuring that your IoT devices can communicate securely within your private network.
Step 1: Set Up a VPC
You can use cloud providers like AWS, Google Cloud, or Microsoft Azure to create a VPC. Follow their documentation to set up a VPC that meets your requirements.
Step 2: Configure Network Settings
After setting up your VPC, configure your Raspberry Pi's network settings to connect to the VPC. This usually involves setting up static IP addresses, configuring DNS, and setting up routing rules.
Best Practices for VPC Configuration
To ensure a smooth setup, keep these best practices in mind:
- Use strong passwords and encryption.
- Regularly update your VPC settings to patch any vulnerabilities.
- Monitor network traffic to detect any suspicious activity.
Building Your IoT Project
With your Raspberry Pi connected to a VPC, it's time to start building your IoT project. Here are some ideas to get you started:
- Home Automation: Control lights, thermostats, and security systems using Raspberry Pi.
- Environmental Monitoring: Use sensors to monitor temperature, humidity, and air quality.
- Smart Agriculture: Implement IoT solutions for crop management and irrigation.
Choosing the Right Sensors and Actuators
Selecting the right sensors and actuators is key to the success of your IoT project. Consider factors like accuracy, range, and compatibility with Raspberry Pi when making your choices.
Testing and Debugging Your IoT Network
Testing and debugging are essential parts of any IoT project. Here's how you can ensure your network is functioning as expected:
Step 1: Monitor Network Traffic
Use tools like Wireshark or tcpdump to monitor network traffic and identify any issues.
Step 2: Check Device Connectivity
Ensure all devices are connected to the VPC and can communicate with each other.
Troubleshooting Common Issues
If you encounter any problems, here are some common troubleshooting tips:
- Check network settings and ensure they are correctly configured.
- Verify that all devices are powered on and functioning properly.
- Consult the documentation for your specific hardware and software.
Securing Your Raspberry Pi VPC IoT Network
Security should always be a top priority when working with IoT. Here are some tips to help you secure your Raspberry Pi VPC IoT network:
- Use strong, unique passwords for all devices and accounts.
- Enable two-factor authentication wherever possible.
- Regularly update your software and firmware to protect against vulnerabilities.
Implementing Encryption
Encrypting your data is one of the best ways to protect it from unauthorized access. Consider using protocols like SSL/TLS to secure communication between your devices.
Scaling Your IoT Network
As your IoT project grows, you may need to scale your network to accommodate more devices and users. Here's how you can do it:
Step 1: Plan for Expansion
Anticipate future needs and design your network with scalability in mind.
Step 2: Optimize Resource Usage
Ensure your Raspberry Pi and VPC are optimized for maximum efficiency.
Managing Large-Scale IoT Networks
For large-scale IoT deployments, consider using management platforms that can help you monitor and control your network from a central location.
Conclusion
In this Raspberry Pi VPC IoT tutorial, we've covered everything you need to know to set up a secure and scalable IoT network. From choosing the right hardware and software to configuring your VPC and securing your network, we've provided you with the tools and knowledge to create something truly remarkable.
So, what are you waiting for? Grab your Raspberry Pi, dive into the world of IoT, and start building your dream project. Don't forget to share your experiences and creations with the community. Happy tinkering!
Table of Contents
- What is Raspberry Pi and Why Should You Use It?
- Understanding VPC and Its Role in IoT
- How Does VPC Enhance IoT Security?
- Setting Up Raspberry Pi for IoT
- Choosing the Right OS for IoT
- Connecting Raspberry Pi to VPC
- Best Practices for VPC Configuration
- Building Your IoT Project
- Choosing the Right Sensors and Actuators
- Testing and Debugging Your IoT Network
- Troubleshooting Common Issues
- Securing Your Raspberry Pi VPC IoT Network
- Implementing Encryption
- Scaling Your IoT Network
- Managing Large-Scale IoT Networks