Are you tired of dealing with complicated setups for remote IoT monitoring? Let’s face it—managing devices remotely can feel like navigating a maze, especially when it comes to SSH and Mac downloads. But don’t worry, we’ve got you covered! In this article, we’ll break down everything you need to know about remote IoT monitoring using SSH on a Mac. Whether you’re a tech enthusiast or just someone trying to keep their IoT devices secure, this guide is for you.
Remote IoT monitoring has become an essential part of modern technology. With more and more devices connecting to the internet, being able to monitor them from afar is not only convenient but also crucial for security. SSH, or Secure Shell, plays a key role in this process by providing a secure way to access and manage these devices. If you’re using a Mac, there’s no better time than now to dive into how you can leverage SSH for your remote IoT needs.
This article isn’t just another tech jargon-filled post. We’re here to make sure you understand every step, from setting up SSH to downloading the necessary tools on your Mac. So, whether you’re a beginner or an advanced user, let’s get started and turn those IoT devices into your own personal tech army!
Read also:Norm Abrams The Legendary Woodworker And His Impact On Craftsmanship
Understanding Remote IoT Monitoring
Let’s start by answering the million-dollar question: What exactly is remote IoT monitoring? Simply put, it’s the process of keeping tabs on your Internet of Things (IoT) devices from anywhere in the world. Think of it as having eyes and ears for all your smart gadgets, no matter where you are. This could mean monitoring your home security system while you’re on vacation or checking the temperature of your greenhouse from your office.
Why Is Remote Monitoring Important?
There are a few big reasons why remote IoT monitoring is such a game-changer:
- Security: Keeping an eye on your devices helps prevent unauthorized access and potential hacks.
- Convenience: Who wants to physically go to a location just to check if everything’s okay? Remote monitoring lets you handle issues from the comfort of your couch.
- Efficiency: Whether it’s automating tasks or troubleshooting problems, remote monitoring streamlines the way you interact with your devices.
And let’s not forget, with SSH, you’re adding an extra layer of protection to the mix. It’s like giving your devices a digital bodyguard!
What Is SSH and How Does It Relate to Remote IoT Monitoring?
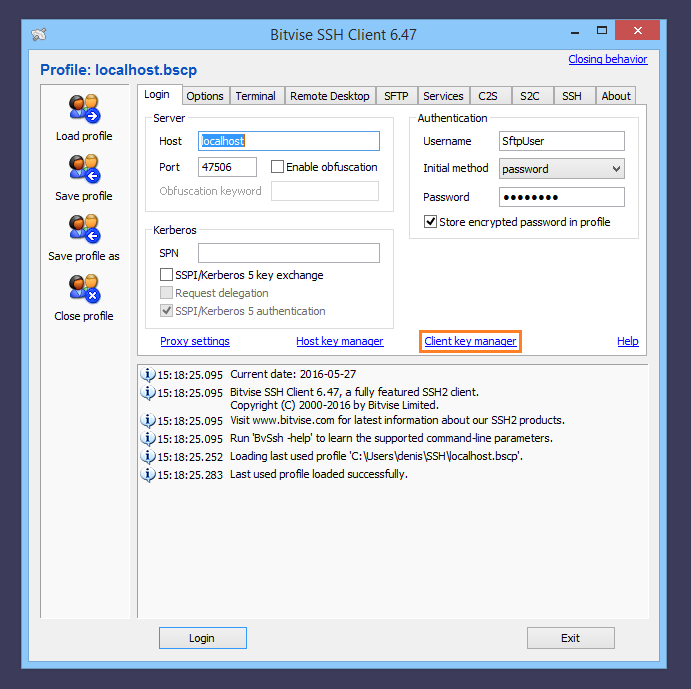
Now that we’ve covered the basics of remote IoT monitoring, let’s talk about SSH. SSH stands for Secure Shell, and it’s basically a protocol that allows you to securely connect to another computer or device over a network. When it comes to IoT, SSH is your best friend because it ensures that your communication with your devices is encrypted and safe from prying eyes.
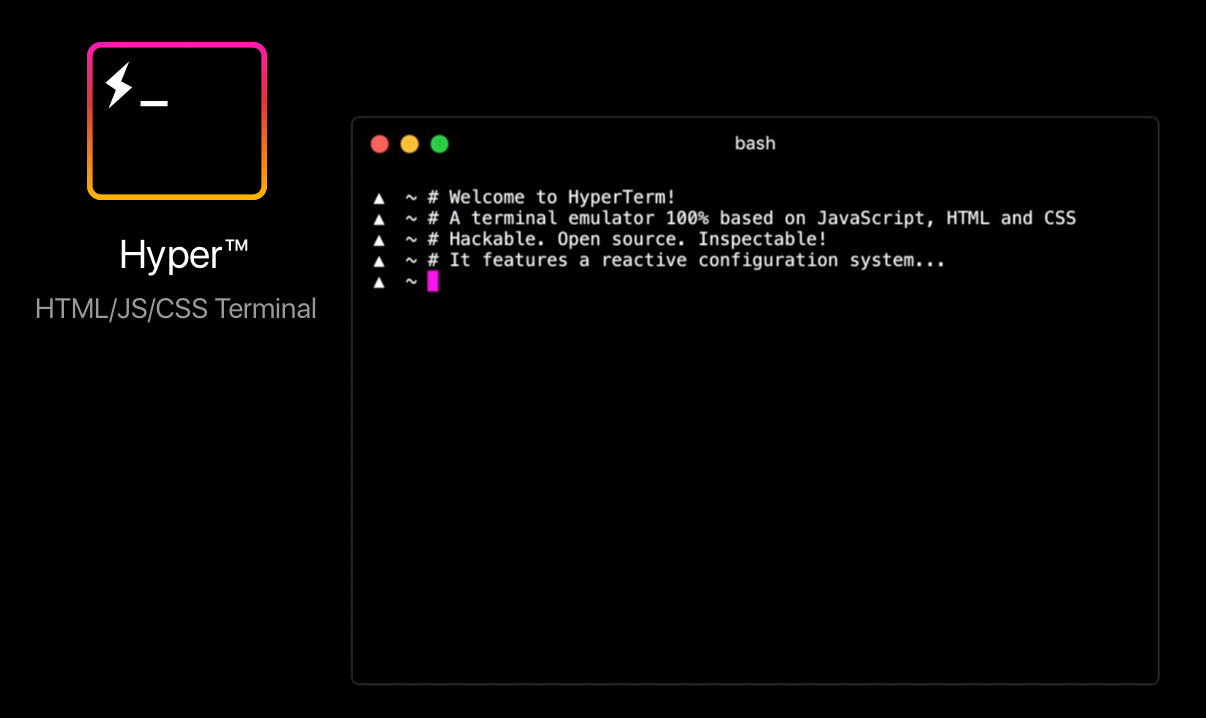
How SSH Works on Mac
Mac users have a slight advantage here because macOS comes pre-installed with SSH. That’s right—you don’t need to download anything extra to start using SSH on your Mac. All you need is the Terminal app, which you can find by searching for it in Spotlight or navigating to Applications > Utilities. Once you’re in the Terminal, you can use SSH commands to connect to your IoT devices.
Read also:Muhammad Ali Jr Boxing The Legacy Continues
For example, a typical SSH command might look something like this:
ssh username@device_ip_address
Replace “username” with your actual username and “device_ip_address” with the IP address of your IoT device. Simple, right?
Steps to Set Up Remote IoT Monitoring Using SSH on Mac
Alright, now that we’ve covered the theory, let’s dive into the practical steps you can take to set up remote IoT monitoring using SSH on your Mac.
Step 1: Enable SSH on Your IoT Device
Before you can start monitoring, you’ll need to make sure SSH is enabled on your IoT device. The process varies depending on the device, but generally, you’ll need to go into the device’s settings and look for an option related to SSH or remote access. Once you’ve enabled SSH, note down the IP address of the device—you’ll need it later.
Step 2: Open Terminal on Your Mac
Next, it’s time to fire up the Terminal app on your Mac. As mentioned earlier, you can find it in Applications > Utilities or by searching for it in Spotlight. Once you’re in the Terminal, you’re ready to move on to the next step.
Step 3: Connect Using SSH
Now comes the fun part—actually connecting to your IoT device using SSH. In the Terminal, type the following command:
ssh username@device_ip_address
When prompted, enter your password. If everything goes smoothly, you should now have a secure connection to your IoT device.
Step 4: Monitor Your Device
With SSH up and running, you can now start monitoring your IoT device. Depending on the device, you might be able to view logs, check system status, or even run commands to troubleshoot issues. The possibilities are endless!
Tools and Software for Remote IoT Monitoring
While SSH is a powerful tool, there are other software options that can enhance your remote IoT monitoring experience. Here are a few worth checking out:
1. Mosquitto
Mosquitto is an open-source message broker that implements the MQTT protocol. It’s perfect for IoT devices that need to exchange data in real-time. Plus, it works seamlessly with SSH for added security.
2. Node-RED
If you’re into visual programming, Node-RED is a great option. It allows you to create flowcharts that control your IoT devices, making it easier to automate tasks and monitor their status.
3. Home Assistant
Home Assistant is a popular open-source home automation platform that supports a wide range of IoT devices. It integrates well with SSH and provides a user-friendly interface for monitoring and managing your devices.
Best Practices for Secure Remote IoT Monitoring
Security should always be a top priority when it comes to remote IoT monitoring. Here are a few best practices to keep in mind:
- Use strong, unique passwords for your SSH connections.
- Regularly update your IoT devices and software to patch any vulnerabilities.
- Consider using two-factor authentication for added protection.
- Limit SSH access to trusted IP addresses whenever possible.
By following these tips, you can ensure that your remote IoT monitoring setup is as secure as possible.
Common Issues and Troubleshooting
Even the best-laid plans can go awry sometimes. Here are a few common issues you might encounter when setting up remote IoT monitoring using SSH on Mac, along with their solutions:
Issue 1: Connection Refused
If you’re getting a “connection refused” error, it might mean that SSH isn’t enabled on your IoT device. Double-check the device’s settings to make sure SSH is turned on and that the IP address is correct.
Issue 2: Permission Denied
A “permission denied” error usually indicates that your username or password is incorrect. Make sure you’re entering the right credentials and that you have the necessary permissions to access the device.
Issue 3: Slow Connection
If your SSH connection is slow, it could be due to network congestion or a weak internet connection. Try restarting your router or switching to a different network if possible.
Future Trends in Remote IoT Monitoring
The world of remote IoT monitoring is constantly evolving. Here are a few trends to keep an eye on:
1. Increased Use of AI
Artificial intelligence is starting to play a bigger role in IoT monitoring, allowing for more intelligent and automated systems. This means devices can not only be monitored but also optimized without human intervention.
2. Enhanced Security Measures
As cyber threats become more sophisticated, so too are the security measures being developed to counter them. Expect to see more advanced encryption techniques and authentication methods in the near future.
3. Greater Interoperability
With more devices coming online every day, interoperability is becoming increasingly important. Future IoT systems will likely be designed to work seamlessly with a wide range of devices and platforms.
Conclusion
Remote IoT monitoring using SSH on Mac is a powerful tool that can help you stay connected to your devices no matter where you are. By following the steps outlined in this article, you can set up a secure and efficient monitoring system that meets your needs.
So, what are you waiting for? Dive in and start exploring the world of remote IoT monitoring today! And don’t forget to share this article with your friends and colleagues who might find it useful. Together, let’s make the world of IoT a safer and more connected place!
Table of Contents
- Remote IoT Monitoring SSH Download Mac: Your Ultimate Guide
- Understanding Remote IoT Monitoring
- Why Is Remote Monitoring Important?
- What Is SSH and How Does It Relate to Remote IoT Monitoring?
- How SSH Works on Mac
- Steps to Set Up Remote IoT Monitoring Using SSH on Mac
- Tools and Software for Remote IoT Monitoring
- Best Practices for Secure Remote IoT Monitoring
- Common Issues and Troubleshooting
- Future Trends in Remote IoT Monitoring