Let me break it to you, folks—remote IoT monitoring is no longer just a tech buzzword; it's the future of how we interact with devices. Imagine having the power to control and monitor your IoT devices from anywhere in the world, all while sipping on your favorite coffee. Sounds too good to be true? Not if you're equipped with the right tools, like SSH and a solid Mac setup. Whether you're a tech enthusiast or a professional looking to streamline your workflow, this guide will walk you through everything you need to know about remote IoT monitoring, SSH downloads, and how to set it up on your Mac.
Now, before we dive deep into the nitty-gritty, let's address the elephant in the room. If you're reading this, chances are you're already familiar with IoT, or at least you've heard of it. IoT stands for the Internet of Things, and it's basically the network of physical devices that can connect, collect, and exchange data. But what happens when you're not physically near those devices? That's where remote monitoring comes into play. With SSH and your trusty Mac, you can keep an eye on your IoT setup no matter where you are.
And guess what? It's not as complicated as it sounds. Sure, there's some tech jargon involved, but by the time you finish this article, you'll be a pro at setting up remote IoT monitoring using SSH on your Mac. So, buckle up and get ready to level up your tech game!
Read also:How Tall Is Laura Ingraham Discovering The Height Of A Media Powerhouse
Why Remote IoT Monitoring Matters
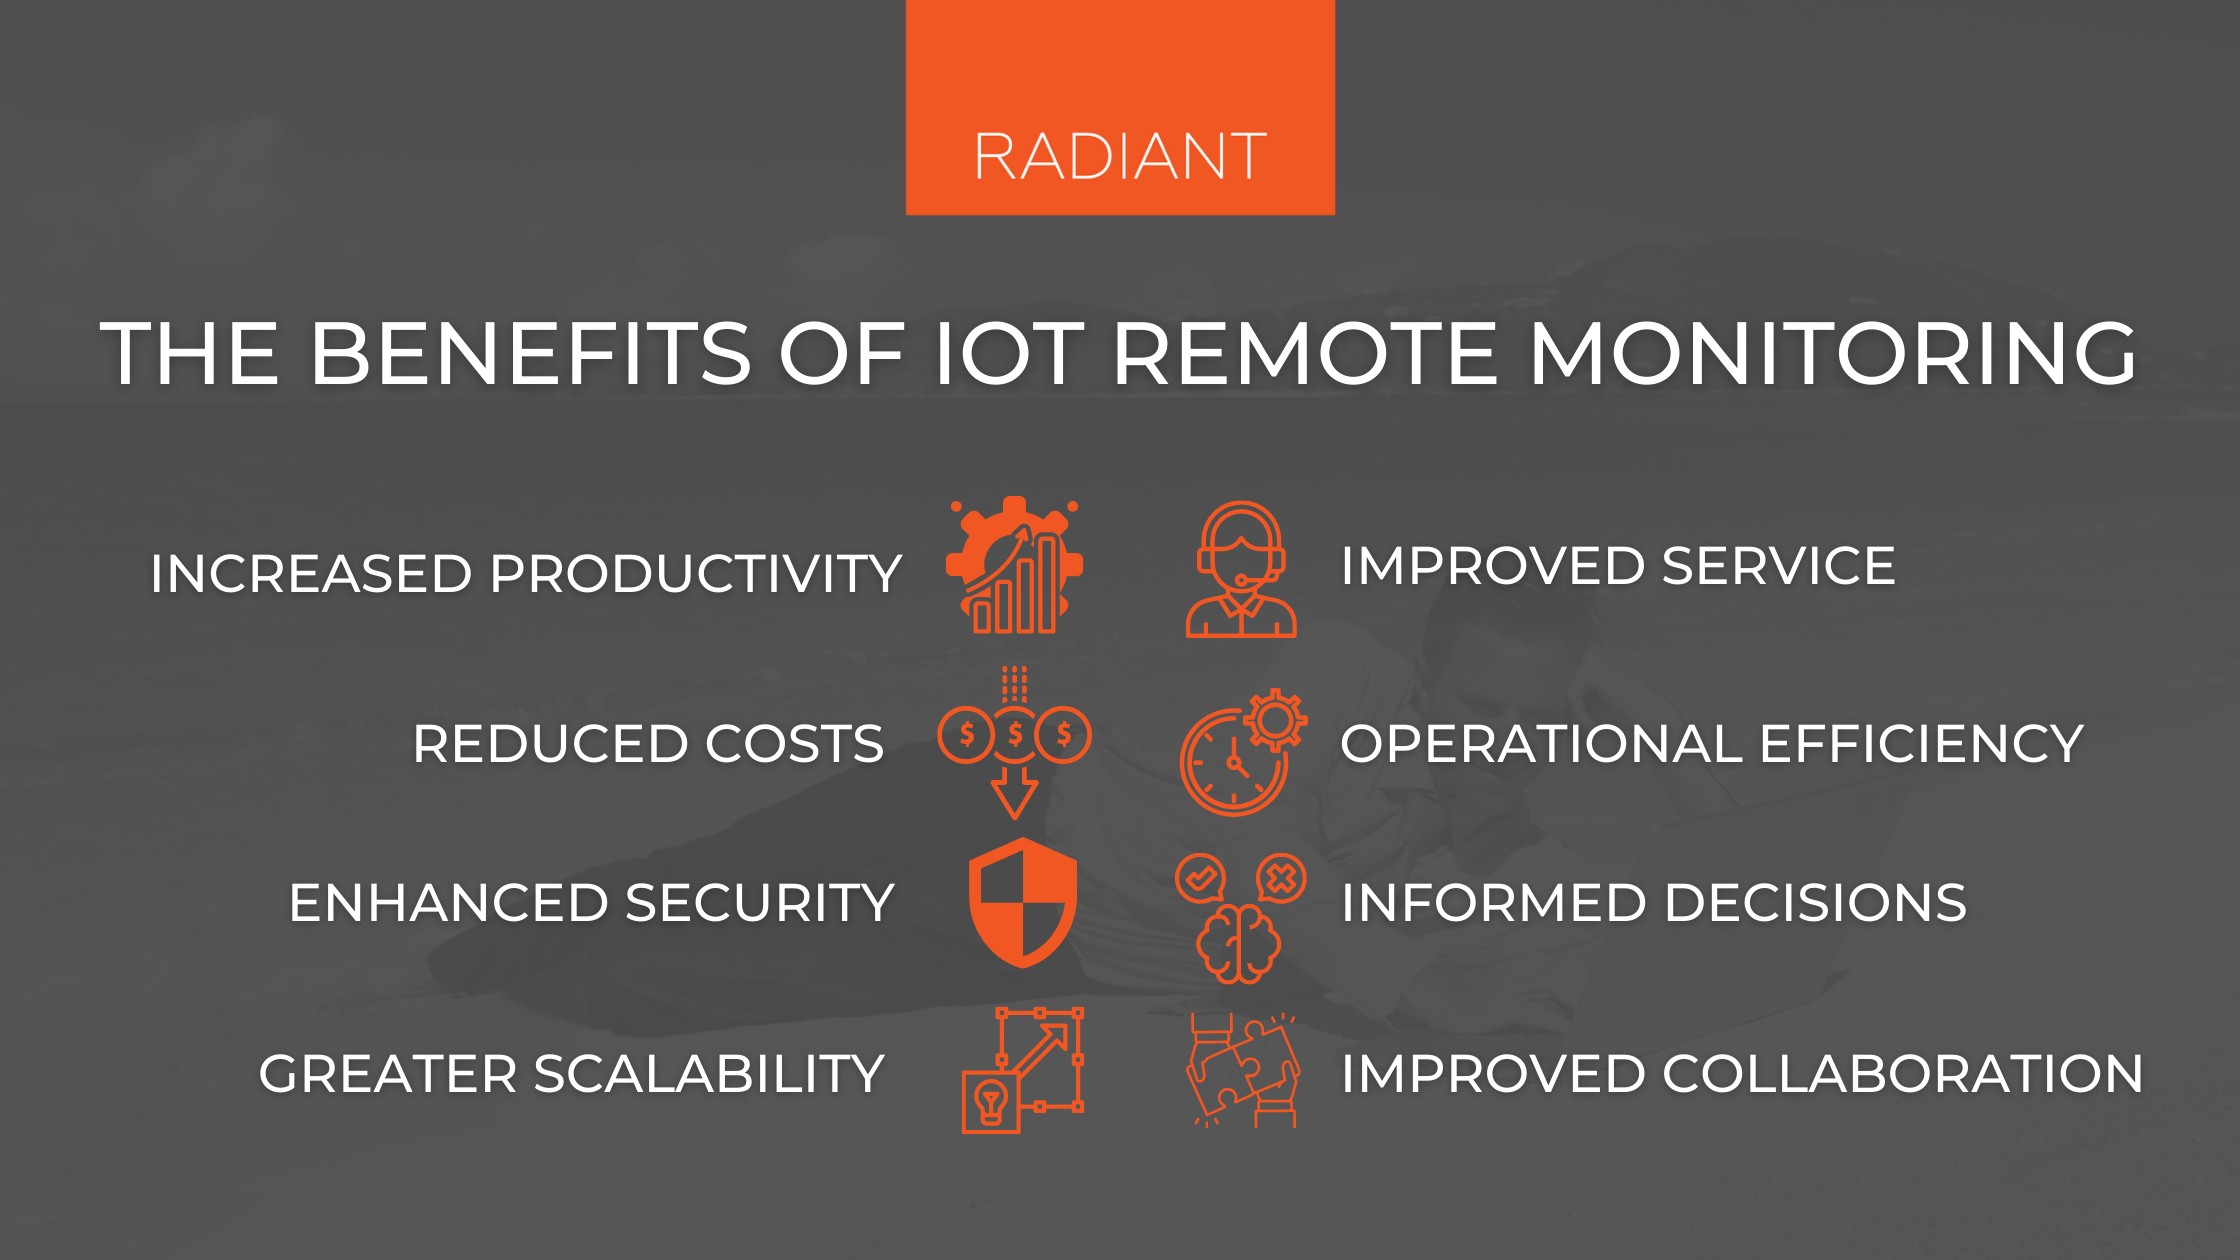
Let's face it—technology is evolving faster than we can say "smartphone." IoT devices are everywhere, from smart thermostats to industrial sensors, and they're all generating mountains of data. But what good is all that data if you can't access it when you need it? That's where remote IoT monitoring shines. It allows you to keep tabs on your devices, troubleshoot issues, and make data-driven decisions without being physically present.
For businesses, remote monitoring means saving time and money by reducing the need for on-site visits. For individuals, it means peace of mind knowing that your smart home is running smoothly, even when you're miles away. And let's not forget the security aspect. With remote monitoring, you can quickly detect and respond to potential threats, keeping your devices and data safe.
But here's the kicker—remote monitoring is only as good as the tools you use. That's where SSH comes in. Secure Shell, or SSH, is a cryptographic network protocol that allows you to securely access and manage remote devices. And if you're using a Mac, you're in luck because macOS comes with built-in SSH capabilities. All you need is the right setup, and you're good to go.
Understanding SSH: The Backbone of Remote IoT Monitoring
Alright, let's get down to business. SSH might sound like a fancy acronym, but it's actually pretty straightforward. Think of it as a secure tunnel that lets you communicate with your IoT devices over the internet. Unlike other protocols, SSH encrypts your data, making it much harder for hackers to intercept and steal your information.
Here's the deal—when you connect to a remote device using SSH, you're creating a secure session that protects your data from prying eyes. This is especially important when you're dealing with sensitive information, like device configurations or sensor data. Plus, SSH supports authentication methods like passwords and public key cryptography, ensuring that only authorized users can access your devices.
Now, if you're thinking, "This sounds complicated," don't worry. SSH is actually pretty user-friendly once you get the hang of it. And if you're using a Mac, you already have the tools you need to start using SSH. All you need is a terminal window and a few simple commands, and you'll be connecting to your IoT devices in no time.
Read also:Discover The Address Of Walmart Corporate Headquarters A Comprehensive Guide
Setting Up SSH on Your Mac
Setting up SSH on your Mac is easier than you might think. Here's a quick step-by-step guide to get you started:
- Open the Terminal app on your Mac. You can find it in the Utilities folder or by searching for it using Spotlight.
- Once the Terminal is open, type "ssh" followed by your username and the IP address of the remote device. For example:
ssh username@device_ip. - Hit Enter, and you'll be prompted to enter your password. Once you've entered it, you'll be connected to your remote device.
- That's it! You're now connected to your IoT device via SSH.
Of course, there are a few things to keep in mind. Make sure your remote device is configured to accept SSH connections, and don't forget to enable port forwarding on your router if you're accessing the device from outside your local network. Trust me, it'll save you a lot of headaches down the line.
Downloading SSH Clients for Mac
While macOS comes with built-in SSH capabilities, sometimes you might want a more user-friendly interface. That's where SSH clients come in. There are plenty of great SSH clients available for Mac, and most of them are free or offer free versions. Here are a few of our top picks:
- Termius: A modern SSH client with a sleek interface and support for multiple connections.
- PuTTY: A classic SSH client that's been around for years and is still one of the best options out there.
- Flow: A Mac-native SSH client that offers a clean and intuitive design.
When choosing an SSH client, consider your needs and preferences. If you're comfortable with the command line, the built-in SSH tool might be all you need. But if you prefer a graphical interface, one of these clients could be a game-changer for you.
Tips for Downloading SSH Clients Safely
Before you download any SSH client, make sure you're getting it from a reputable source. Look for official websites or trusted app stores, and always check the reviews and ratings before making a decision. And if you're unsure about a particular client, do some research or ask for recommendations from other users.
Also, keep in mind that some SSH clients might require additional software or plugins to work properly. Make sure your Mac meets the system requirements before installing anything, and don't forget to keep your software up to date for the best performance and security.
Configuring IoT Devices for Remote Monitoring
Now that you've got your SSH setup ready, it's time to configure your IoT devices for remote monitoring. This step is crucial because it ensures that your devices are ready to communicate with your Mac over the internet. Here's what you need to do:
- Install the necessary software on your IoT devices. This could include firmware updates or specific monitoring tools.
- Set up a static IP address for your devices to make it easier to connect to them remotely.
- Enable SSH access on your devices and configure any firewall settings to allow incoming connections.
Remember, every device is different, so make sure you consult the user manual or manufacturer's website for specific instructions. And if you're dealing with multiple devices, consider using a centralized management system to streamline the process.
Securing Your IoT Devices
Security should always be a top priority when setting up remote IoT monitoring. Here are a few tips to help you keep your devices safe:
- Use strong, unique passwords for each device and avoid using default credentials.
- Enable two-factor authentication whenever possible to add an extra layer of security.
- Regularly update your devices' firmware and software to protect against known vulnerabilities.
By following these best practices, you can minimize the risk of unauthorized access and keep your data safe. Trust me, it's worth the extra effort.
Best Practices for Remote IoT Monitoring
Now that you've got everything set up, let's talk about best practices for remote IoT monitoring. These tips will help you get the most out of your setup and avoid common pitfalls:
- Monitor regularly: Don't wait for something to go wrong before checking your devices. Set up regular monitoring schedules to catch issues early.
- Automate where possible: Use scripts and automation tools to streamline your monitoring process and save time.
- Document everything: Keep detailed records of your setup, configurations, and troubleshooting steps. This will make it easier to diagnose and fix problems in the future.
And here's a bonus tip—don't be afraid to experiment. Try out new tools and techniques to see what works best for you. After all, the world of IoT is constantly evolving, and staying ahead of the curve is key to success.
Dealing with Common Issues
No matter how careful you are, issues can still arise. Here are a few common problems you might encounter and how to fix them:
- Connection issues: Check your network settings and ensure that port forwarding is properly configured.
- Authentication errors: Double-check your credentials and make sure your devices are configured to accept SSH connections.
- Performance problems: Optimize your SSH settings and consider upgrading your hardware if necessary.
If you're stuck, don't hesitate to reach out to the community or consult the documentation for your devices. Chances are, someone else has already solved the problem you're facing.
Data Management in Remote IoT Monitoring
Data is the lifeblood of IoT monitoring, and managing it effectively is crucial for success. Here's how you can make the most of your data:
- Collect only what you need: Avoid data overload by focusing on the metrics that matter most to your goals.
- Store data securely: Use encrypted storage solutions to protect your data from unauthorized access.
- Visualize your data: Use dashboards and charts to make sense of your data and spot trends quickly.
By following these strategies, you can turn raw data into actionable insights that drive your decision-making process. And let's be honest—who doesn't love a good dashboard?
Future Trends in Remote IoT Monitoring
As technology continues to evolve, so does the world of IoT monitoring. Here are a few trends to watch out for:
- AI and machine learning: These technologies are revolutionizing how we analyze and interpret IoT data, making it easier to detect anomalies and predict future trends.
- Edge computing: By processing data closer to the source, edge computing reduces latency and improves performance for real-time monitoring.
- 5G connectivity: With faster and more reliable networks, remote monitoring will become even more seamless and efficient.
Stay informed about these developments, and you'll be well-positioned to take advantage of the latest advancements in IoT monitoring.
Conclusion
And there you have it—your ultimate guide to remote IoT monitoring using SSH on your Mac. By following the steps outlined in this article, you'll be able to set up a secure and efficient monitoring system that keeps your IoT devices running smoothly. Remember, the key to success is staying informed, staying secure, and staying ahead of the curve.
So, what are you waiting for? Grab your Mac, fire up that Terminal, and start exploring the world of remote IoT monitoring. And don't forget to share your experiences and tips in the comments below. After all, the tech community thrives on collaboration and knowledge-sharing. Happy monitoring, folks!
Table of Contents
- Why Remote IoT Monitoring Matters
- Understanding SSH: The Backbone of Remote IoT Monitoring
- Setting Up SSH on Your Mac
- Downloading SSH Clients for Mac
- Configuring IoT Devices for Remote Monitoring
- Best Practices for Remote IoT Monitoring
- Data Management in Remote IoT Monitoring
- Future Trends in Remote IoT Monitoring
- Conclusion