Ever wondered how to securely connect to your IoT devices from anywhere using SSH on a Mac without breaking a sweat? Well, you're in the right place. In today's interconnected world, remote access is not just a luxury—it’s a necessity. Whether you're managing smart home devices, monitoring industrial sensors, or controlling cloud servers, SSH offers an encrypted, reliable way to interact with your IoT gadgets. But wait, there's more! This guide will show you how to set it up seamlessly on a Mac, step by step.
SSH, or Secure Shell, is like the superhero of remote connections. It encrypts all your data, keeping it safe from prying eyes. For Mac users, this means you can control your IoT devices from the comfort of your laptop, no matter where you are. Whether you're at home, in the office, or lounging by the beach, SSH ensures that your devices remain within reach. So, let’s dive into the nitty-gritty of setting up SSH for IoT on a Mac without any hassle.
Before we jump into the technicalities, let’s clear the air. If you're new to SSH or IoT, don’t panic. This guide is designed for beginners and experts alike. We’ll walk you through everything you need to know, from the basics of SSH to advanced configurations. By the end of this article, you’ll be a pro at using SSH to manage your IoT devices from anywhere. Ready? Let’s get started!
Read also:Lori Petty Wife The Fascinating Journey Of Robin Wright
Understanding SSH and Its Importance in IoT
First things first, what exactly is SSH? Think of it as a secure tunnel that lets you communicate with remote devices over the internet. Unlike other protocols, SSH encrypts your data, making it almost impossible for hackers to intercept. When it comes to IoT, this encryption is crucial. Imagine controlling a smart thermostat or monitoring a security camera from miles away. Without SSH, your data could be exposed to cyber threats. That's why SSH is the go-to solution for secure remote access in the IoT world.
SSH works by establishing a connection between your local machine (in this case, your Mac) and a remote server or device. This connection is encrypted using advanced algorithms, ensuring that your data remains private and secure. For IoT devices, SSH provides a reliable way to manage configurations, update firmware, and troubleshoot issues without physically being present. It’s like having a virtual assistant that keeps your devices running smoothly.
Why Use SSH for IoT Devices?
Here are some compelling reasons why SSH should be your top choice for managing IoT devices:
- Encryption: SSH encrypts all your data, protecting it from unauthorized access.
- Reliability: SSH connections are stable and can handle large amounts of data without dropping.
- Flexibility: You can use SSH to perform a wide range of tasks, from file transfers to command execution.
- Security: SSH supports various authentication methods, including passwords and public key cryptography.
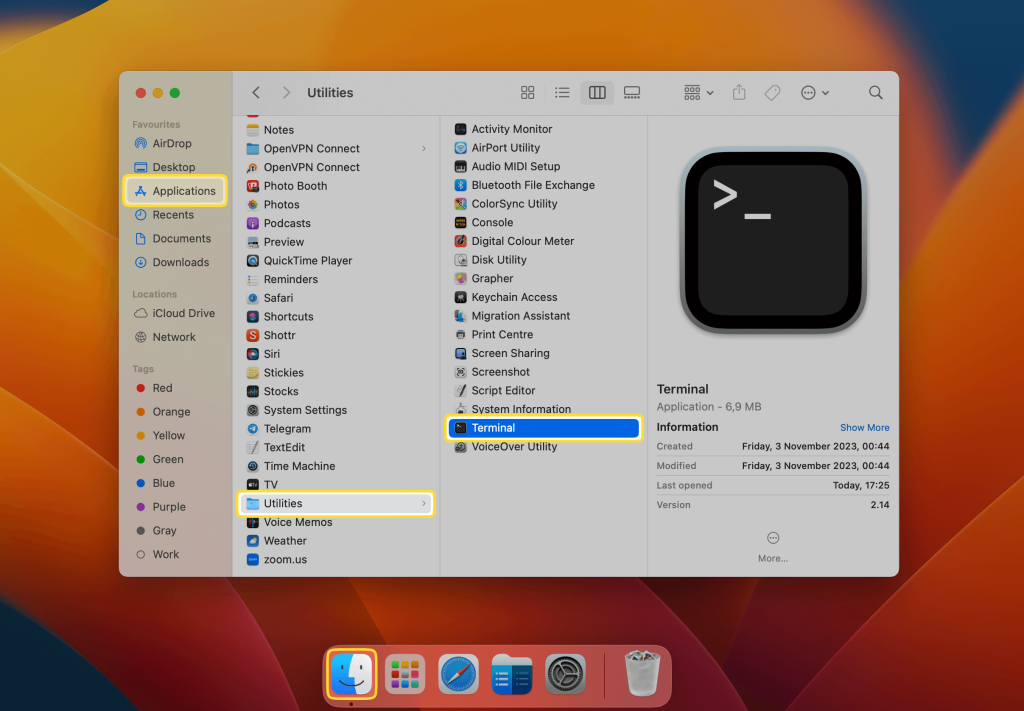
For Mac users, SSH is built right into the Terminal app, making it easy to set up and use. No need for third-party software or complicated installations. Just open Terminal, type a few commands, and you're good to go. Simple, right?
Setting Up SSH on Your Mac
Now that you understand the importance of SSH, let’s move on to setting it up on your Mac. Don’t worry; it’s not as daunting as it sounds. In fact, most of the work is already done for you. macOS comes pre-installed with the necessary tools to use SSH. All you need to do is enable it and configure a few settings.
Enabling SSH on macOS
To enable SSH on your Mac, follow these simple steps:
Read also:What Is The Best Bundle For Tv Phone And Internet Find Out Now
- Go to System Preferences and click on Sharing.
- In the list of services, check the box next to Remote Login.
- Click on the checkbox to allow access for all users or specific users, depending on your preference.
- That's it! SSH is now enabled on your Mac.
Once SSH is enabled, you can use it to connect to other devices, including your IoT gadgets. But before you do that, let’s make sure everything is set up correctly.
Configuring Your IoT Device for SSH Access
Now that your Mac is ready, it’s time to configure your IoT device for SSH access. The process may vary depending on the device you're using, but the general steps remain the same. Here’s how you can do it:
Step 1: Install an SSH Server – Most IoT devices don’t come with an SSH server pre-installed. You’ll need to install one manually. Popular choices include OpenSSH and Dropbear. Follow the manufacturer’s instructions to install the server on your device.
Step 2: Set Up Network Access – Make sure your IoT device is connected to the same network as your Mac. You can use either Wi-Fi or Ethernet, depending on your setup. Once connected, find the IP address of your device. This will be used to establish the SSH connection.
Step 3: Configure Firewall Settings – If your device has a firewall, make sure it allows incoming SSH connections. Typically, this involves opening port 22, which is the default port for SSH. Consult your device’s documentation for more details.
Tips for Secure Configuration
While setting up SSH is straightforward, security should always be a top priority. Here are a few tips to keep your IoT devices safe:
- Use strong passwords or public key authentication for added security.
- Change the default SSH port (22) to something less obvious to deter attackers.
- Regularly update your device’s firmware to patch any security vulnerabilities.
By following these tips, you can ensure that your IoT devices remain secure even when accessed remotely.
Connecting to Your IoT Device from Anywhere
With everything configured, it’s time to connect to your IoT device from anywhere. This is where SSH shines. Using your Mac, you can establish a secure connection to your device no matter where you are. Here’s how:
Using Terminal to Connect
Open Terminal on your Mac and type the following command:
ssh username@device_ip_address
Replace "username" with the actual username for your IoT device and "device_ip_address" with its IP address. If you’ve changed the default SSH port, include it in the command like this:
ssh -p custom_port username@device_ip_address
Press Enter, and you’ll be prompted to enter your password. Once authenticated, you’ll have full access to your IoT device. It’s that simple!
Setting Up Port Forwarding
If you want to access your IoT device from outside your local network, you’ll need to set up port forwarding on your router. This allows incoming SSH connections to reach your device. Here’s how:
- Log in to your router’s admin interface.
- Find the Port Forwarding section and add a new rule.
- Set the external port to the same value as your SSH port (default is 22).
- Set the internal IP address to your IoT device’s IP address.
- Save the changes and test the connection.
With port forwarding configured, you can now access your IoT device from anywhere in the world. Just replace the device IP address in the SSH command with your router’s public IP address.
Advanced SSH Techniques for IoT
Once you’ve mastered the basics, it’s time to explore some advanced SSH techniques. These can help you streamline your workflow and make managing your IoT devices even easier.
Using SSH Keys for Passwordless Login
Instead of typing a password every time you connect, you can use SSH keys for passwordless login. Here’s how:
- Generate a key pair using the ssh-keygen command in Terminal.
- Copy the public key to your IoT device using the ssh-copy-id command.
- Test the connection to ensure it works without a password.
With SSH keys, you can log in to your devices faster and more securely. Plus, it eliminates the risk of brute-force attacks that rely on guessing passwords.
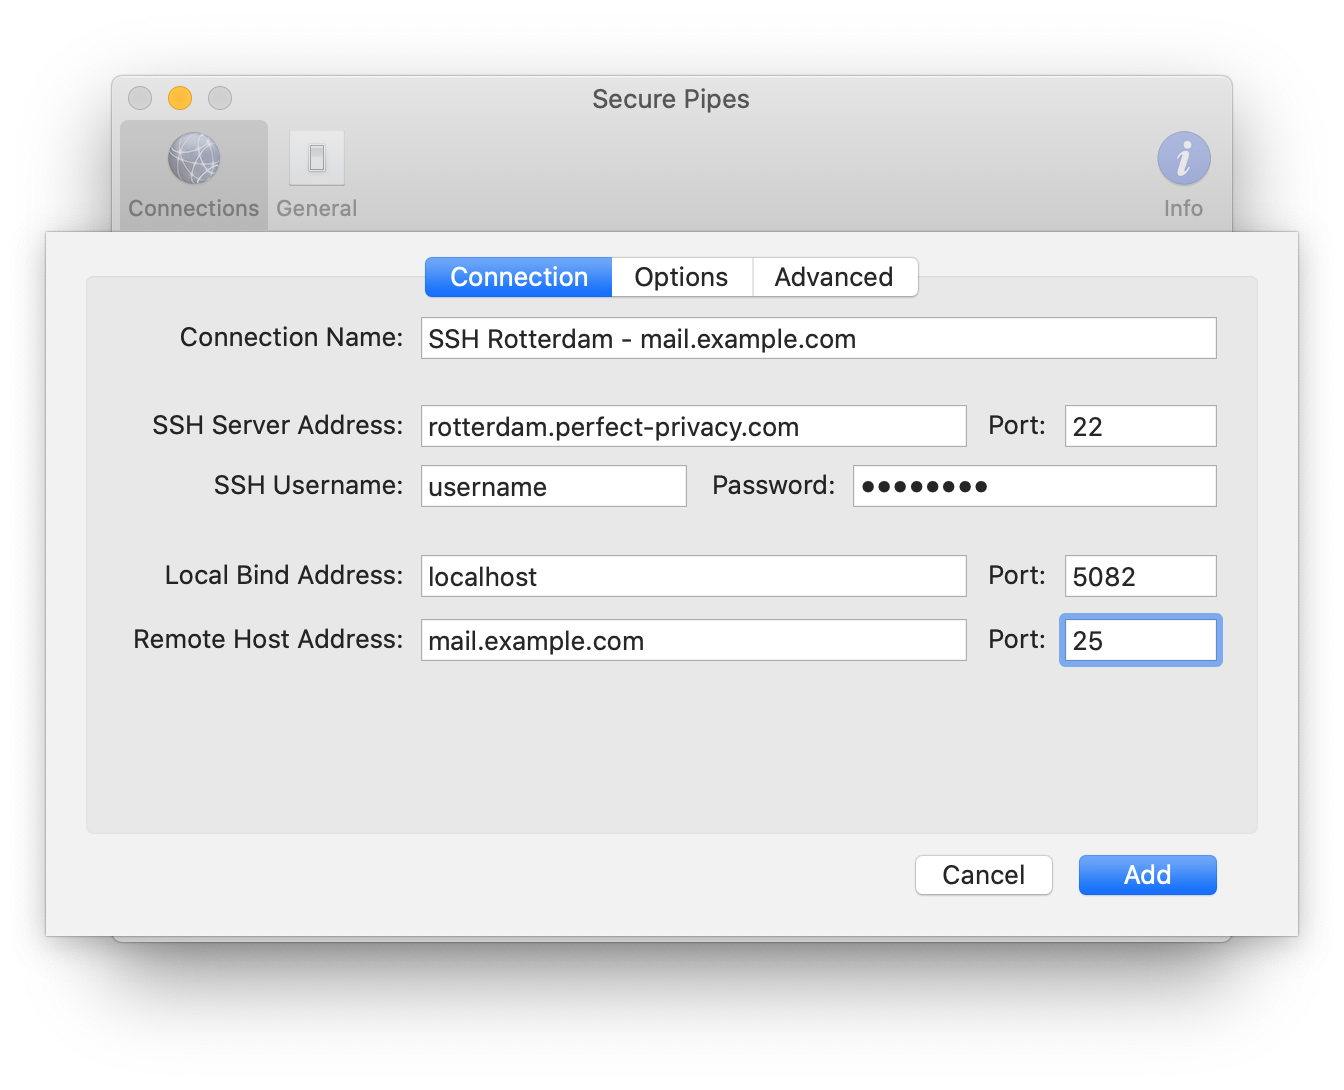
SSH Tunnels for Secure Communication
SSH tunnels allow you to securely forward traffic between your Mac and your IoT device. This is especially useful when accessing sensitive data or services. To create an SSH tunnel, use the following command:
ssh -L local_port:destination_host:destination_port username@device_ip_address
This command forwards traffic from your Mac’s local port to the destination host and port on your IoT device. For example, you could use this to securely access a web server running on your device.
Troubleshooting Common SSH Issues
Even with the best setup, issues can arise. Here are some common SSH problems and how to fix them:
Connection Refused
If you receive a "Connection Refused" error, it usually means the SSH server is not running or the port is blocked. Check that the SSH service is enabled on your IoT device and that your router allows incoming connections on the specified port.
Permission Denied
A "Permission Denied" error typically indicates an authentication issue. Double-check your username, password, and SSH keys. Make sure the user account has the necessary permissions to log in via SSH.
Timeout Errors
Timeout errors often occur when the device is unreachable or the network is unstable. Verify that your IoT device is connected to the network and that there are no firewalls blocking the connection.
Best Practices for Using SSH with IoT
To get the most out of SSH for IoT, follow these best practices:
- Regularly update your device’s firmware and SSH server software.
- Monitor SSH logs for suspicious activity.
- Limit SSH access to trusted users only.
- Use a strong, unique password or SSH key for each device.
By adhering to these practices, you can ensure that your IoT devices remain secure and accessible whenever you need them.
Conclusion: Take Control of Your IoT Devices
In conclusion, SSH is an invaluable tool for managing IoT devices from anywhere. With its robust security features and ease of use, it’s the perfect solution for Mac users who want to stay connected to their devices. By following the steps outlined in this guide, you can set up SSH on your Mac and configure your IoT devices for remote access in no time.
So, what are you waiting for? Take control of your IoT devices today and experience the freedom of managing them from anywhere in the world. And don’t forget to share your experiences in the comments below. Who knows? You might just inspire someone else to take the leap into the world of secure remote access!
Table of Contents
Understanding SSH and Its Importance in IoT
Configuring Your IoT Device for SSH Access
Connecting to Your IoT Device from Anywhere
Advanced SSH Techniques for IoT
Troubleshooting Common SSH Issues
Best Practices for Using SSH with IoT
Using SSH Keys for Passwordless Login
SSH Tunnels for Secure Communication
And there you have it—a comprehensive guide to using SSH for IoT on a Mac. Stay safe, stay connected, and happy hacking!